When you have your desk designed and are ready to begin cutting, you may find yourself wondering if it matters in what order they are cut. It actually does.
The appropriate cutting order for pieces to a desk PC are:
- The bottom
- Sides
- The back and the front (there’s a reason these are done last!)
Let’s have a look at why this cutting order matters and how you can avoid frustrating measurement errors by following this simple process.
Begin at the beginning and go on till you come to the end; then stop. – Lewis Carroll – Alice in Wonderland
Start With The Right Blade
Before we begin cutting, it is important to make sure that you are using the right tool for the job. In this case, we are looking at the blade on your skill saw or table saw. Generally speaking, the more “teeth” a blade has, the smoother the cut will be. When dealing with MDF or plywood, it’s important to use a saw blade that is designed with more teeth. I generally use a blade with 80 teeth or more for this purpose. You can find “plywood blades” on Amazon or at your local hardware store. These will provide a much smoother cut than the “ripping” blades that are intended for framing and rough cutting. Personally, I am a big fan of the 140 tooth blades as they really provide for smooth cut lines when working with MDF or plywoods.
Why Begin With The Desk Bottom?
Simply put, this is the largest piece and its dimensions will influence the rest of the build. Since the sides, back, and the front panels will be secured to and wrap around the bottom sheet of wood, taking the time to ensure that your desk bottom is square and that the measurements are on point will pay huge dividends throughout the remainder of the build process.
This is also arguably the most difficult piece to cut. Although it is often a simple rectangle (unless you opt for the knee-cutout design) it’s still a large piece of wood to work with. Once you have this piece cut, the remaining pieces are much simpler.
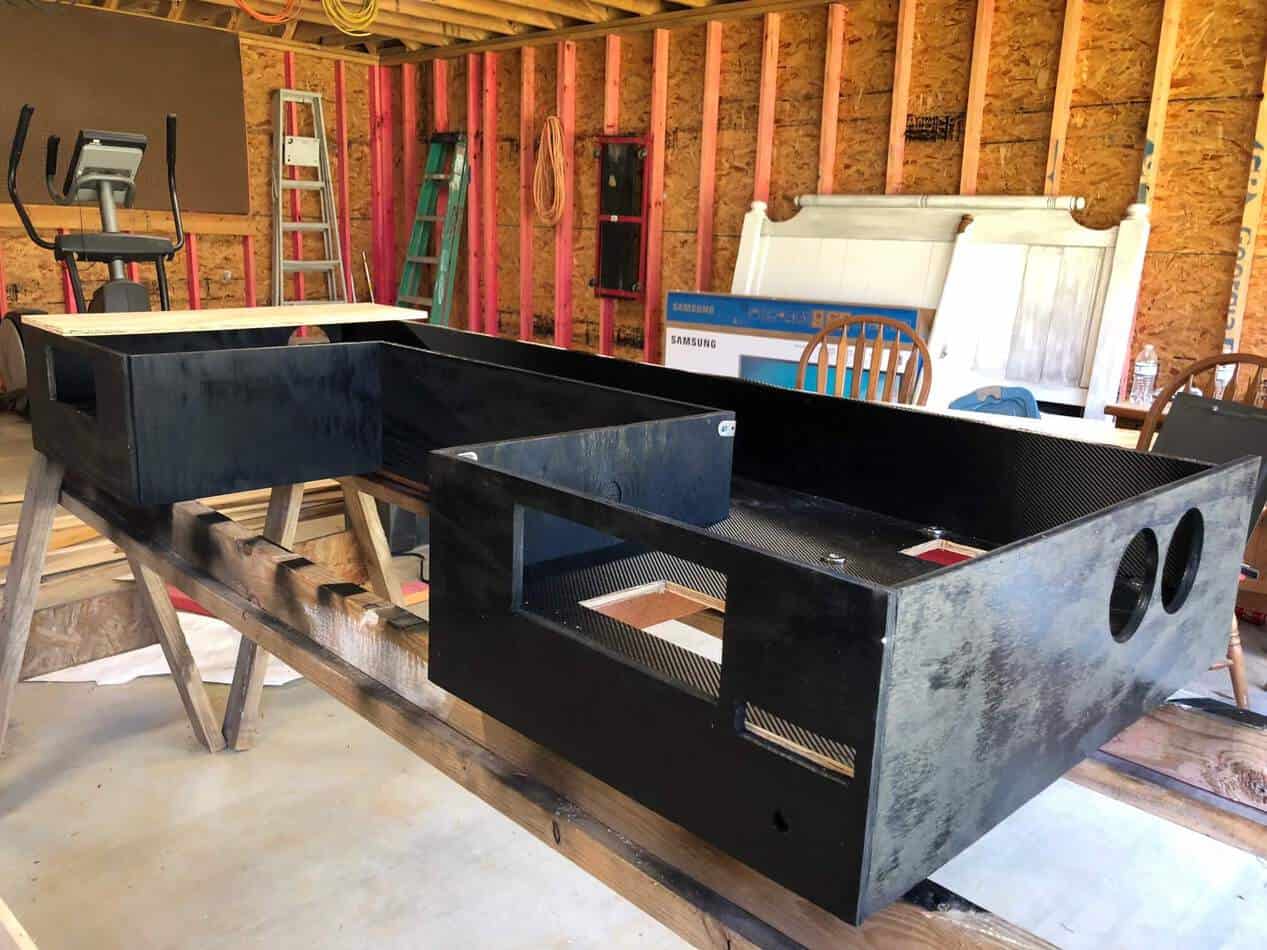
Once your desk bottom is cut, you may find that it is prone to sagging and bending. This is especially true if you opt for too thin of a piece of wood. (We used 1/2 inch plywood – I strongly recommend going with 3/4 inch). our solution was to wrap the underside of the desk with 2×4 studs. Since we planned to have the side panels overhang the sides of the desk anyway, this was no issue and in fact, provided a larger surface to nail and glue the side panels.
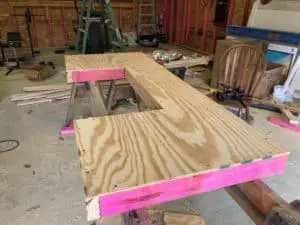
In the end, it added a significant level of stability to the desk and in fact facilitated cable management as we routed cables under the desk and out of view.
The Sides
You may be tempted to move straight to the front panels at this point but trust me when I tell you that the sides should be your next focus. Measuring from the front of the bottom plate to the back, mark your cut lines.
We will actually be cutting these side panels 1/2 to 3/4 inches longer than the depth of the desk depending on the thickness of the back panel. Why? because you want the front panels to extend over the side panels to prevent having a seam on the front of the desk and you want the sides extending past the bottom plate to avoid seams on the side from the back panel.
For example, if the side of your desk is 24 inches deep and you are using 1/4 wood for the back panel, you will cut the side piece 24 and 1/4 inches. The side panel will then push flush against the front panel at the front of the desk but extend 1/4 inch farther than the depth of the desk.
The Back Panel
The back panel is simple. All you want to do is to cut the width the same as the width of the desk bottom plate. This will allow the side panels to wrap over it on each side preventing it from showing seams.
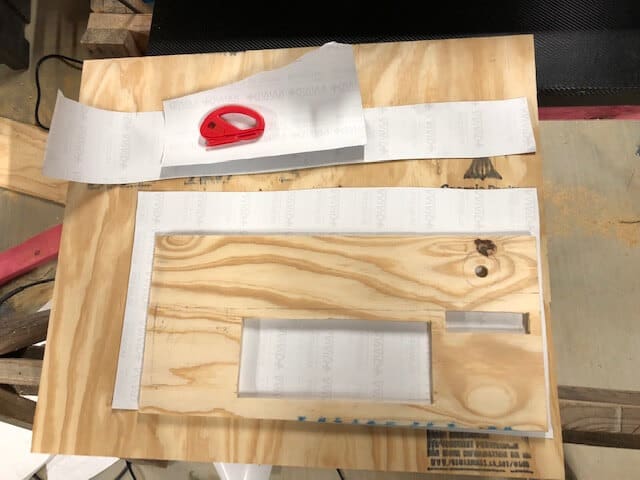
The challenge with the back panel actually has more to do with cutting out the holes and slots for the input and output cables for the computer and accessories. We will cover that in detail in a later post. For now, just know that you want the side panels to overlap the back panel so that the seams from the back panel do not show from the sides. These are the small details that really make a difference in a completed build.
Why You Should Cut The Front Panels Last?
If the desk itself is a showcase for your PC components, then the front panels are the showcase for your desk. They are the first thing that people see and are the most visual part of the desk itself.
Here is why we saved the front panels for last. You want the front panels to overhang the front of the desk bottom by the same width as the thickness of the side panels. This will prevent seams in the front. Do this by holding a piece of wood the same thickness as the side panels against the side of the desk bottom and measure the total width.
Following this cutting order will keep the visual seams on your desk to a minimum and ensures a clean look for your desk PC.
Lessons Learned
I have a confession to make. I didn’t come by this knowledge through some advanced woodworking course or by intensive study. I learned that the order in which you cut the desk pieces matters because I did it the wrong way and had to recut a lot of pieces.
I was so excited about the front panels that I cut them as soon as the bottom plate was cut out. Not realizing that I needed to account for the thickness of the side panels, I cut each of the front panels to the width of the desk front. Once I had my side panels cut and ready, I put them together just to see how everything would look and realized my mistake. By cutting the front panels first, I ended up with the seams from the side panels exposed and staring right at me.
Granted, all it took was a little more time and a little more lumber and I gained some knowledge along the way but I’d like to save you that hassle. Follow the cutting order outlined above and make absolutely certain that you double check your measurements before each cut.
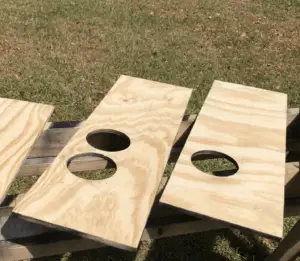
While we are on the topic of mistakes, I would not recommend using pine plywood as we did. A furniture grade plywood or MDF are going to be better options. Here’s a post on MDF vs. plywood if you are on the fence regarding which material to use. I would also recommend having a look at my Best Practices post for information on material choice and other considerations.
Want to know about more mistakes I made while building our desk PC? Have a look at the six mistakes to avoid.