When it comes time to add the PC components to your new Desk PC case, you may find yourself overwhelmed with the sheer volume of options and features that are out there. Motherboard sizes and features, HDD vs SSD (and how many of each?), fans, cables, graphics card processor (AMD or Intel?)…. so many options. It can make you pull your hair out!
I want to simplify this and guide you through how to choose the best options based on your budget and needs so that you can get the most out of your system and the most bang for your buck!
Note: These recommendations are based on compatibility, features, price, reliability, and my in some cases my own personal experience and confidence in the product. Not all are hardcore extremist components but are meant to complement the vast majority of system builds. This article is intended for new builders who do not have experience in selecting PC components. If you are an experienced builder and have knowledge of component specs and compatibility, know that I will not be delving into the gritty details of each component as my intent is to provide guidance for first-time builders and provide them with compatible, budget-friendly options that will meet the performance demands of their intended use.
Processor – Should I Go With AMD or Intel?
A few short years ago,
Here’s the long and short of it. If the price for performance is your primary motivator and you are wanting to get the best bang for your buck dollar for dollar then the AMD Ryzen product line wins this battle hands down. If you are a gamer and you are seeking the absolute highest frame rates regardless of price then Intel still has the upper hand.
Simple enough but there are a couple of considerations beyond this that you should ponder.
Overclocking Capability
Intel offers locked and unlocked versions of their processors. What this means is if a processor is locked, it cannot be overclocked. Overclockable processors from Intel are identified by the letter “K” at the end of their model number. Even if you do not intent to overclock, I always recommend the unlocked versions of Intel processors as it allows this option down the line.
AMD, by contrast, ships all of their new processors with overclocking capability.
So What Do I Recommend?
So I’ve chosen a brand. Now it comes down to deciding on which processor model to go with. There are a lot of options out there but from my experience in building and actually using these processors on a daily basis, it comes down to two primary recommendations depending on the brand you are going with.
On the AMD side, I recommend the Ryzen 7 2700X. This processor is listed at 8 cores/16 threads and ships with a 4.3GHz Max boost. It also comes with a really cool looking and efficient RGB cooling fan. The included fan will be more than sufficient if you do not plan to overclock. If you do overclock, you will want to consider liquid cooling options. If you are uncertain whether or not you will be overclocking it is fine to start out with the included air cooler. With the expandability options of a Desk PC
On the Intel side, I would go with the i7-9700K. This is the unlocked version that allows for overclocking and ships with 8 cores/8 threads and up to 4.9 GHz Turbo. Note that this processor does not come with a cooler and one will need to be purchased separately. You can check Amazon for the latest price on the i7-9700K by clicking this link.
Both of these are powerful processors and will serve you well based on your needs. Additionally, they will ensure a relatively future-proof system that will support the latest games and system requirements for years to come.
Motherboard
Now that you have selected the processor you will be building your system around, the next step is to select a motherboard that supports that processor and will give you the most features relevant to your needs. Don’t get bogged down in features that will serve you no purpose. Focus on what you intend to do with your system 90% of the time and let this guide your purchasing decisions. Otherwise, marketing hype will drive you to spend more than you really need to for features that you may never use.
Features to look for
Below are a few of the essential considerations on features:
Form Factor
This is the physical size of the motherboard. When building a computer in a small case it is important to use a smaller, appropriate sized motherboard. Sometimes this means giving up features for
RAM Support
Depending on what you intend to use your system for, you will need plenty of RAM (Random Access Memory). This memory comes in
SATA Connections
Storage devices such as SSDs and traditional platter hard drives connect to the motherboard through SATA cables. The number of SATA connections that you have available on your motherboard will dictate the extent to which you can grow your system. I strongly suggest choosing a motherboard with at least 4 and ideally 6 SATA connections.
M.2 NVMe Support
Aside from the storage drives that you will connect via SATA connectors, support for at least one M.2 NVMe drive is not only recommended but an essential feature in this day and age. These drive slots provide low profile, high bandwidth storage for your motherboard and it’s recommended that this be where you install your operating system. Fortunately, almost every motherboard on the market these days includes a slot for an NVMe SSD but we will make certain, when we get to my recommendations, that this feature is included just be sure.
I/O ports
The back of the motherboard has all of the ports which connect your system to it’s peripherals (keyboard, mouse, etc. It will also include ports to connect USB devices and speakers. While most of this is pretty standard I would focus on the USB connections. You want a motherboard that includes a fair number of USB 3.0 connections (you can always expand your system’s capability with a simple USB 3.0 hub). It’s also advantageous to have at least one USB C connector. These offer potentially dramatic speed increases although at this time USB C devices are still pricey and difficult to find. Ultimately, however, the technology will catch up and you will be well served to future-proof your system with this feature now.
You will likely notice video ports on the back of the motherboard. I would not concern myself with those too much if you intend to purchase a graphics card since your monitors will hook directly to the graphics card instead of the motherboard.
RGB Connections
Personally, I am not a fan of utilizing the onboard RGB plugs that come with most motherboards. I’ve written about my rationale previously when explaining how to set up a synchronized RGB lighting system for your desk PC. There are exceptions of course but for my time and money, I am a strong advocate of foregoing the onboard RGB and utilizing an independent RGB hub like the Corsair Fan Controller Commander Pro so that I can manage the lighting of the system (RAM, CPU Cooler, Fans, etc.) as well as all of my peripherals (keyboard, mouse, headset, and so on) through one software program and set up profiles for different color themes. The iCUE software that drives the Corsair lighting system can even synchronize your system’s lighting with certain games that you are playing (this list is continuously being updated). Below is a company-produced
Regardless, RGB connections are a feature that is offered on most motherboards these days.
Aesthetic Considerations (Desk Theme)
Beyond features, you will want to consider the visual appeal of the board as it serves as the centerpiece for your build. While purchasing decisions should not be made on aesthetics alone, the look of the board certainly plays a role.
Many motherboards come with color accents built into them such as orange, red, or green decals and plates. I would strongly recommend committing to
Stick With Theme Neutral Colors
The best color schemes to use on your motherboard are generally chrome (silver), black, or white. The first two will go well with virtually any theme while the third (white) reflects and accents the lighting of any color that you throw at it with RGB lighting.
Bang For The Buck (Price)
When it comes to motherboards you can spend as much money as you can get your hands on but that doesn’t mean it’s a wise investment of your funds. The key is to find all of the essential features that we are outlining here for the most reasonable cost while ensuring that you are purchasing from a company with the reputation to warrant your investment. I have personal experience with all of the brands that I’m recommending and they have years of experience in building motherboards but we don’t need to break the bank on this one PC component. So we are looking for the best dollar-for-dollar feature-set that will ensure a future-proof system for the years ahead.
Recommended Motherboards
Based on the features that we’ve outlined above. I recommend the following motherboards for your build based on the processor that you have chosen.
RYZEN Build
For the Ryzen build, the ASUS Prime X470-Pro checks all the boxes.
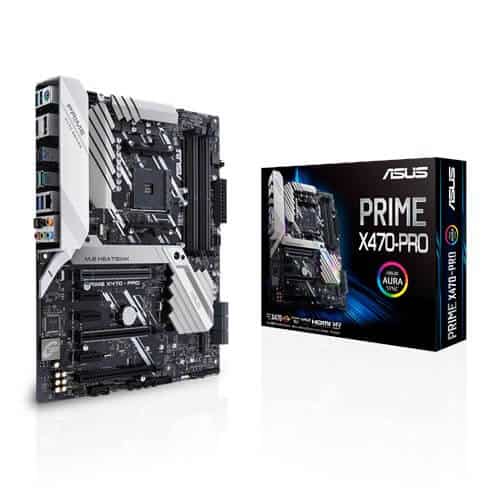
The black and chrome design will fit well with virtually any system. With support for an M.2 SSD as well as USB 3.1 Gen 2 port, ability to utilize up to 64GB of RAM, and 6 SATA connectors, this motherboard will provide all of the immediate and long-term expansion that you will need. You can see an overview of the features on the ASUS website by clicking here. (Don’t worry, the link will open in a new tab so that you don’t lose your place). Check Amazon for the current price on the ASUS Prime X470-Pro.
This is currently my personal recommendation for a Ryzen build. It’s well priced for the features and a clean look for any build. It does come with onboard RGB lighting which you can turn on or off depending on your tastes.
Intel Build
If you want to build with an Intel processor, I recommend the MSI MAG Z390 Tomahawk motherboard.
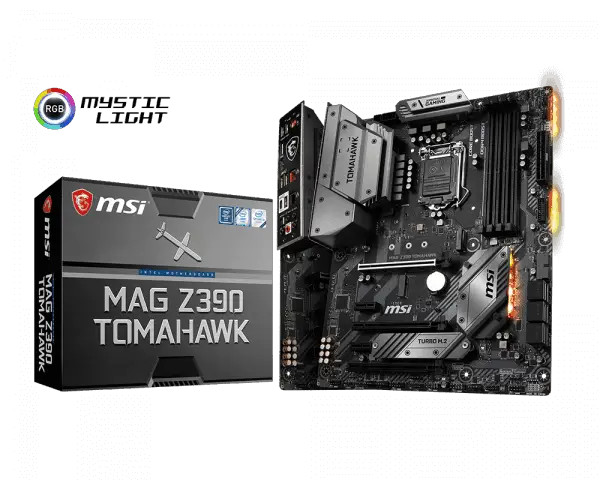
This black motherboard has support for up to two M.2 SSDs, has USB 3.1 Gen 2 support, up to 64GB RAM, and 6 SATA ports. Coincidentally, the MSI Tomahawk series is the same brand of motherboard that we installed in our desk PC some time back.
Like the ASUS motherboard for Ryzen, this one does include onboard RGB lighting which can be turned on or off based on your preferences. And it has full support for the Intel i7-9700K that I recommend for an Intel build.
You can review the features of this motherboard on the MSI website by clicking here. (Again, this will open in a new window so you do not need to worry about losing your place).
Note: There are multiple recommendations to the following components depending on your budget. Top-tier recommended components will be highlighted like this text box.
RAM
The next step in choosing parts for your build is to select RAM. There are a lot of considerations regarding the specs and performance abilities of RAM modules but the ones below will provide similar performance results and are compatible with both Intel and Ryzen builds.
If you want to complement the RGB lighting of your build with RAM that supports RGB, I recommend the CORSAIR Vengeance RGB PRO series. These memory modules have lighting that is supported by Corsair’s iCUE software to make designing and changing lighting profiles in your system seamless. Click here to check the latest prices on Amazon.
Here’s a link to Corsair’s product page if you are interested in reading deeper into the specs and features.
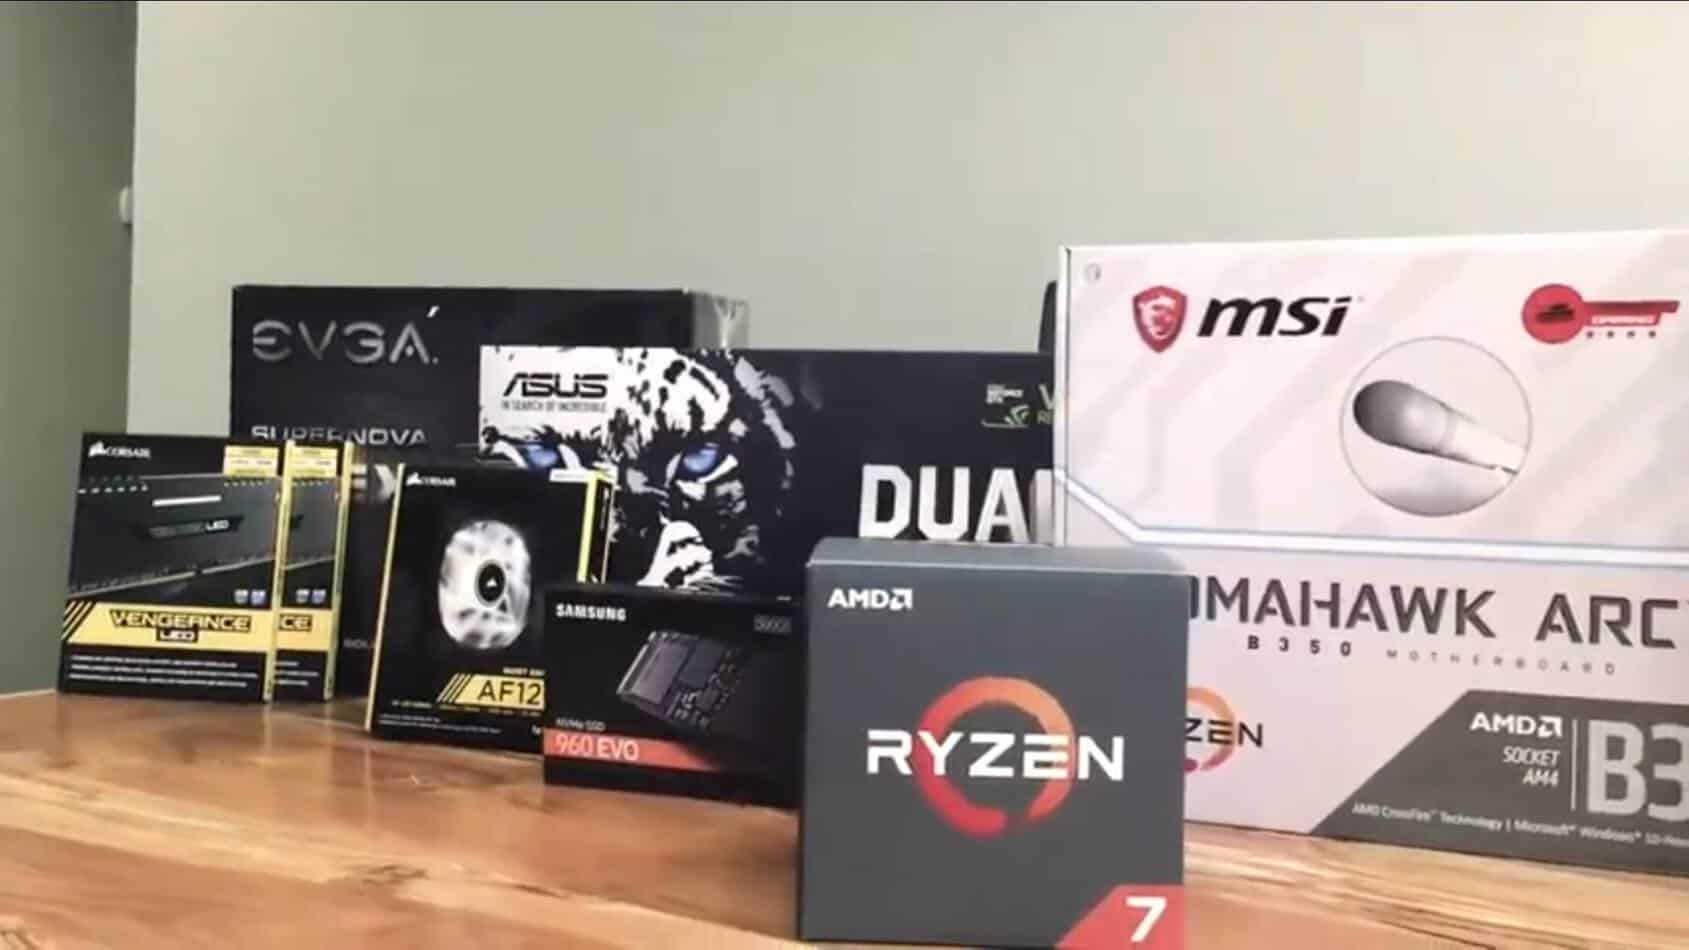
These RGB RAM modules weren’t available when we built our system so we opted for the Corsair Vengeance LED modules which have pulsating white lighting along the top.
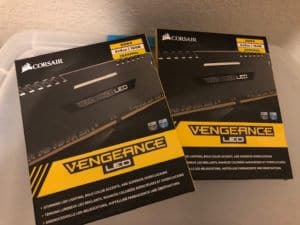
Not as fancy and customizable as the RGB to be sure but we still like them. Building a system today, however, if RGB lighting was a consideration I would go with the Vengeanance RGB Pro series.
If you are not concerned with RGB lighting on your RAM modules and are looking for a more sterile aesthetic then I would recommend either the Corsair Dominator Platinum series or the Kingston Technology HyperX Fury Black. These links will show the latest pricing on Amazon for the 16GB versions.
It’s always important to do your due diligence when shopping for computer parts. Here’s the Corsair product page for the Dominator Platinum. Read up on the specs and features before making a purchasing decision. You should do the same if considering the Kingston brand. Here is a link to the Kingston product page.
Regardless of which RAM you choose, I suggest starting with 16GB using two eight GB sticks. You can always add more RAM as your system
Graphics Card
Choosing the right graphics card can be a daunting task. With so many options to choose from, it gets overwhelming. I’ve researched graphics card features, reliability, and performance exhaustively. When it comes down to it, there are only a few that I would recommend.
High End – High Cost
For those who want the best in performance and are willing to pay for it, the NVIDIA GeForce GTX 1080 Founders Edition is the reigning king. It’s sleek looking and designed for performance. It’s also quite expensive but if you are building
Strong Performance – Reasonable Cost
For an arguably competitive performance level at a noticeable cost decrease, the EVGA GeForce GTX 1070 SC GAMING ACX 3.0 is the go-to mainstream card that I am comfortable recommending. It’s rock solid in frame-per-second tests and has a no-frills design that will not interfere with your system’s theme colors. Click here for the current price on Amazon.
Reasonable Performance – Low Cost
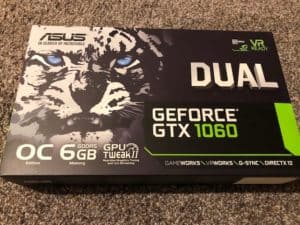
“Low cost” is relative when it comes to graphics card because they are one of the more expensive components in your system. Still, I continue to recommend the ASUS GeForce GTX 1060 6GB Dual-Fan OC Edition card for beginner builds. This is the same card we used in my video editing PC and, later, in my son’s desk PC. I’ve been extremely satisfied with its performance considering the cost is about half that of the 1080 card that I recommend. He plays Fortnite and several other games and has never had issues with it keeping up with the demands of the games. If you are trying to build a system on a budget this is a solid choice. The white frame will reflect the RGB lighting in your system and its very appealing. You can get pricing on Amazon for this card by clicking this link.
I understand that everyone wants the highest performance graphics card on the market but don’t put off building your dream setup waiting to have the money for the top-of-the-line card. Build a system you can afford today and upgrade it as your finances allow over time. I think you may find that a lower cost card will serve you better than you realize.
Storage (Platter vs. SSD)
If there is one place where your dollars will have a direct impact on the performance of your system it is in the storage that you use for your programs and files.
For the most robust system performance I strongly recommend an M.2 NVMe drive for your operating system and at least one SATA connected SSD for program files that are accessed frequently. Beyond that, traditional platter hard drives still have their place with archiving of files that need to be readily available but are not used daily.
Note: If you do not have the funding to start immediately with an NVMe drive, install your operating system on a SATA connected SSD. You can always move the system files over when funding allows. What do you NOT want to do is install your operating system on a traditional platter hard drive. The system will feel sluggish and unresponsive by comparison to what an SSD or NVMe’s performance will offer.
Recommended NVMe Drive
Samsung pretty much owns this market at the top and mid tiers.
The top of the line in performance is the Samsung 970 PRO. I recommend the 512GB version which will allow plenty of room as additional programs are installed and Windows updates are accumulated.
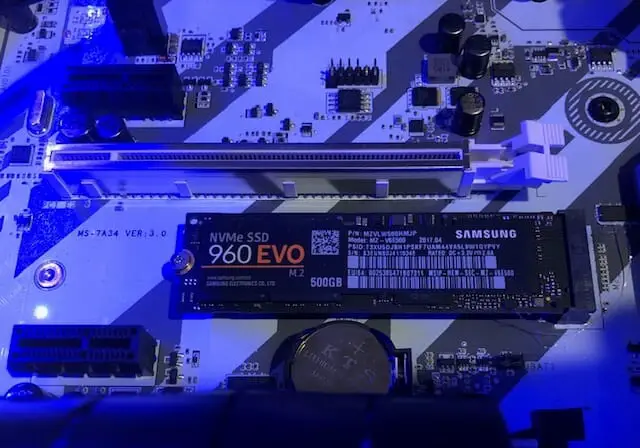
Right below this one in cost and performance is the Samsung 970 EVO 500GB. This is probably the most widely used NVMe model for the vast majority of builders. In fact, we built our system using the Samsung 960 EVO 500GB. The 970 line has replaced those and is the new standard in NVMe performance.
If you are on a tight budget but really want to put an NVMe drive in your system, the Crucial P1 500GB 3D NAND is a solid performer for the cost. It’s quite a bit less expensive but also does not offer the speed punch that the Samsung drives do. Still, it is a viable option for a lower cost build and should not be dismissed if it fits your budget.
I do not recommend going with a lower capacity drive to step up to Samsung for the increased speed. Stick with 500GB or better for your main operating system drive. Trust me when I tell you that the extra space will fill up over time and you’ll get longer use out of it than a 128GB or 256GB drive.
SSD Recommendations
You have options when it comes to an SSD for secondary storage. By that I mean, frequently accessed files but not your operating system. You may seem some performance difference here but to be honest I have tested and currently use twelve difference SSDs from different companies and as long as I’m using them as a secondary drive and not for the operating system I really have never noticed any difference.
That being said, Samsung does still top my list of recommendations with their 860 EVO. A 500GB drive will probably be fine for most but a 1TB is certainly a better choice if you can afford it. This is the drive where all of your music, video editing projects, or any frequently used files will go and so you should plan for more storage than you think you need. Click here to get Amazon’s current pricing.
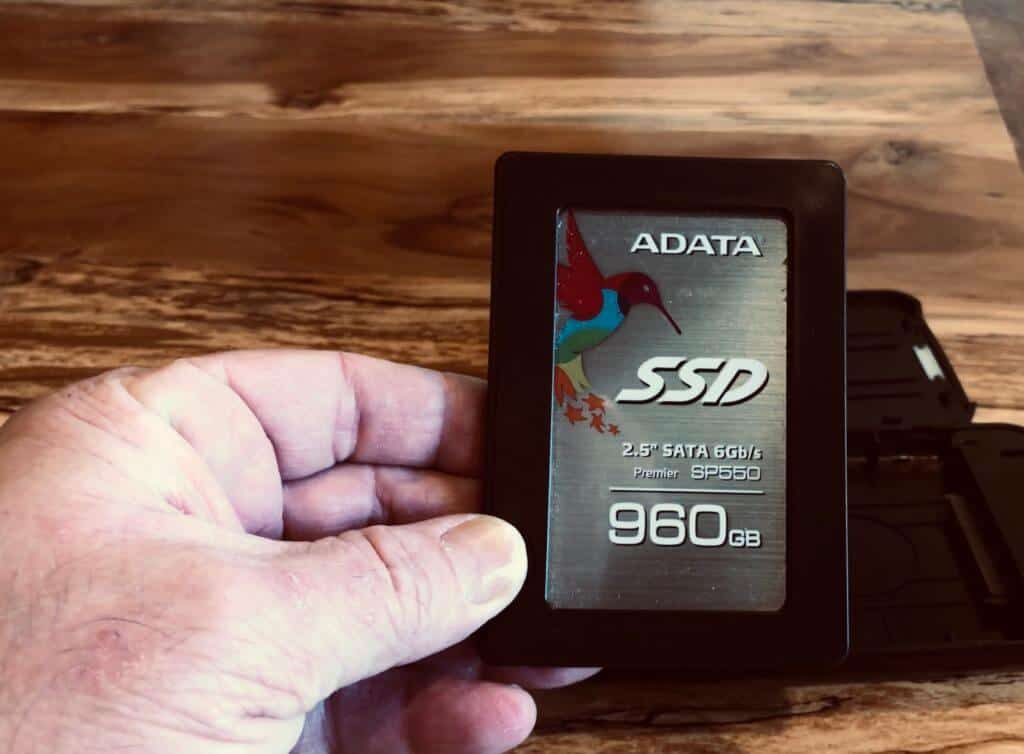
A more budget-friendly option is the ADATA USA Ultimate Su800, also available in the 1TB option. I actually own two ADATA SSDs and have been very pleased with there performance and reliability. In fact, we recently used the 960GB model to add additional storage to our
I have also had good luck with the Sandisk Ultra II SSDs but they are quite a bit more expensive than the Samsung models and I’ve not seen performance improvements that would justify the cost.
The only other SSD that I can personally recommend based on my experience is the Intel SSD 545s Series.
I have been happy with the performance of this drive and will be using it in our next Desk PC build since it is the sleekest looking of all of them. Of course, that should never be the primary decision driver but it does help when the specs come out to be about the same and, overall in day-to-day use, I have to say that this is the case. The Samsung SSD is faster, at least in benchmarks, but when I run them side by side doing the same daily real-world tasks, I can’t see a difference. And I believe that is the case almost always when you are talking about an SSD as a secondary drive. Where it really matters is when you are installing the operating system on it. That’s where those little differences in performance really show up (loading programs, general responsiveness, etc.). Get the latest price on the
Intel SSD 545s Series at Amazon by clicking here.
There are countless more SSD options in the market but based on reliability and my own personal experience, these are the only drives that I can recommend with confidence.
Power Supply
Admittedly, this is not the sexiest part of PC building but it is an essential component to a well-built system. There are multiple aspects to determining the efficiency of a power supply but the leading indicator is the 80+ Program that tests, measures, and rates power supplies on their efficiency. These ratings are marked as Bronze, Silver, Gold, and Platinum with Platinum being the highest rated, most efficient delivery of power. By and large, I recommend sticking with the Gold level power supplies as they provide high efficiency at a reasonable cost. If you would like to read more about the 80+ Program, Corsair has an excellent article that you can read here.
Another major consideration with power supplies is whether to use modular or non-modular connections. A modular power supply does not have PC component cables hardwired to it. You connect only the ones you need which can save tremendous space and frustration of having to manage unused cables. A non-modular supply ships with the cables hardwired to it. They cannot be removed. These are generally less expensive than the modular versions.
Recommended Power Supplies
In most cases, I recommend a 750-watt power supply. We purchased a 650 watt supply for our desk PC build and while it is sufficient, I have grown to appreciate the extra wiggle room that a 750 watt or better power supply provides. This size is more than ample to handle the vast majority of computer systems out there while allowing plenty of room for growth.
At the top tier is the EVGA Supernova 750 P2, 80+ Platinum 750W, Fully Modular Eco Mode power supply. This beast ships with a 10-year warranty and is 80+ Platinum certified. The modular design prevents unnecessary cable clutter and even has a special Eco mode which does not turn on the fan until the internal components reach 45 degrees Celcius meaning your system will run quieter when under normal loads. The included cables provide all of the power connections needed for a system and are compatible with all of the recommended components listed above.
The mid-budget option for a 750-watt power supply is the Seasonic FOCUS 750 Gold SSR-750FM. This is an 80+ Gold certified, semi-modular design (meaning some of the cables are modular but a few are hardwired to the power supply, and ships with a 7-year warranty. It’s a solid choice and will save you a few dollars over the Supernova 750 P2 but you do give up some cable management options due to the semi-modular design.
The only lower cost option that I would recommend is the EVGA 750 BQ, 80+ Bronze 750W. This is a semi-modular design with Bronze certified power supply that includes a 5-year warranty and has a strong reputation as a dependable, budget-friendly power solution.
System Fans

Once you put these components together, you will have a system that generates a lot of heat. I’ve written extensively on the importance of airflow in previous posts. When it comes down to which fans to incorporate into your system, there are a few considerations that we need to analyze.
Static Pressure vs. Airflow Fans
A lot of people get confused over static pressure and airflow fans. It’s actually pretty simple. Airflow fans are designed to move the highest possible volume of air. Static fans are designed to push air more forcibly, albeit usually at a lower volume. Where static fans generally make sense is in situations where you are pushing air through obstacles such as a bunch of cables or a thick filter or radiator (in other words, high air resistance situations.
For the most part, airflow fans are what you are going to want in a desk PC since you are going to want an exhaust focused system that will move the most air possible out of the system as quickly (and quietly) as possible. This is due in part to the large airspace inside a desk PC case. There should be very little in the way of the airflow to obstruct air movement. In fact, I am steadily becoming an advocate for larger fans such as 140mm and even 200mm running at slower speeds. They are capable of moving a surprisingly large volume of air through your system while generating less noise since they do not have to run as fast to move the same amount of air as a 120mm fan.
Noise Under Load
Where the rubber meets the road when it comes to system fans is in the amount of air they move and the resulting noise that the fan produces when moving that air. This is another area where larger 140 mm and 200mm fans have an advantage. Since they are able to move more air at lower speeds, they can usually cool your system more quietly than smaller fans. As far as brand reputation goes, Noctua owns the market when it comes to reliably quiet fans. The only issue I have with them is in their distasteful color schemes which have traditionally been light tan and non-complimentary to 99% of the color schemes that builders want to use in their systems. Which leads us to the next consideration…
Aesthetics
I’ve never been a fan of Noctua’s tan/brown colors for their fans. That being said, they do now have a black and a light grey version of their fans and those are worth considering. You won’t go wrong with Noctua, it’s just a question of whether or not their design options will conflict with your build’s design. If you are wanting to go with the 200mm airflow system, however, the tan/brown colors are the only ones available as of this writing and for the foreseeable future for that size.
Beyond Noctua’s product line, there are several other companies to consider. Cooler Master, Corsair, and Thermaltake all manufacture solid quality fans and offer many more color options (including RGB lighting). Although some of these manufacturers offer RGB models of the 200mm variety, they tend to design static pressure fans which is not the best solution for an exhaust focused system.
There are a ton of options available depending on your color and size preferences and I don’t have any specific recommendations. I will tell you that I have been very happy with the Cooler Master MasterFan Pro 120 Air Flow RGB fans that we used in our desk PC case. If I were building that system today, however, I would opt for 140mm or even 200mm fans and would focus airflow on exhausting hot air instead of trying to force cool air in. That’s a debate for another time, however, and I will be posting a demonstration in the weeks ahead showing the true effects of positive and negative airflow strategies using a smoke machine in a closed system. For now just know that, as a rule, the larger the fan, the less speed (and noise) it has to produce to move air.
Putting It All Together
In a coming video series, I will be building a new desk PC and will be walking you through every step of the build. But you do not need to wait for that to get started. I’ve already posted an extensive step by step guide on How to build a Desk PC and I include a link to a YouTube video from an industry expert putting a PC together. Although he is building the PC in a traditional desktop case, the process is the same.
If you are still on the fence about whether or not you should build a desk PC, check out the six reasons why you should build one. Also, avoid the mistakes my son and I made when building our first desk PC by reading this post.
And if you have any doubts about your ability to put together these components, watch this YouTube video of my son who was 12 years old at the time putting together my video editing PC (which we later tore down and savaged parts for the desk PC). 🙂
You can absolutely do this. Pick your system, get the parts, and just watch YouTube videos to learn exactly how to put them all together.